
Overview
Community and Enterprise users can save time by using the Auto Approve feature for trusted Heroes. This guide explains how to enable Auto Approve and how it works depending on your user type.
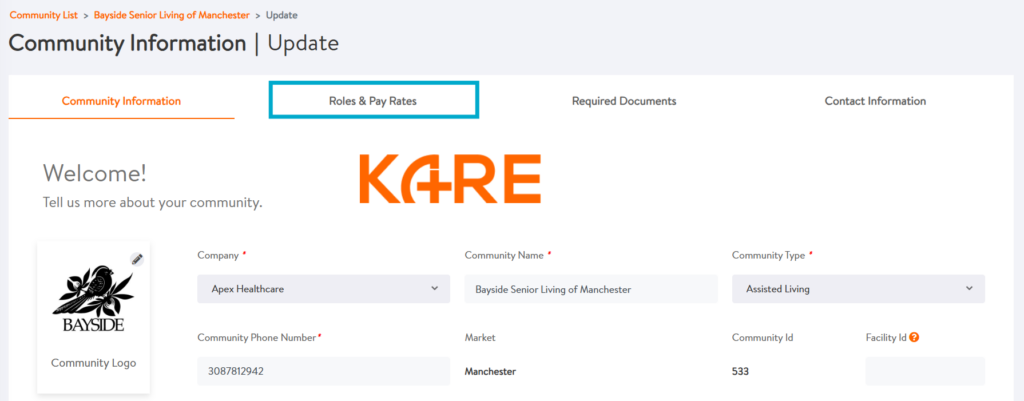
Setup Auto Approve
Setting up Auto Approve slightly varies based on your user type. To begin adding Heroes to your Auto Approve list, you must first activate this setting in your Community Settings.
If you are a Community user, follow these steps. If you are an enterprise user, you will follow a different set of steps.
For Community Users:
1. Go to your Community page and scroll down to the section titled Auto-Approve Settings.
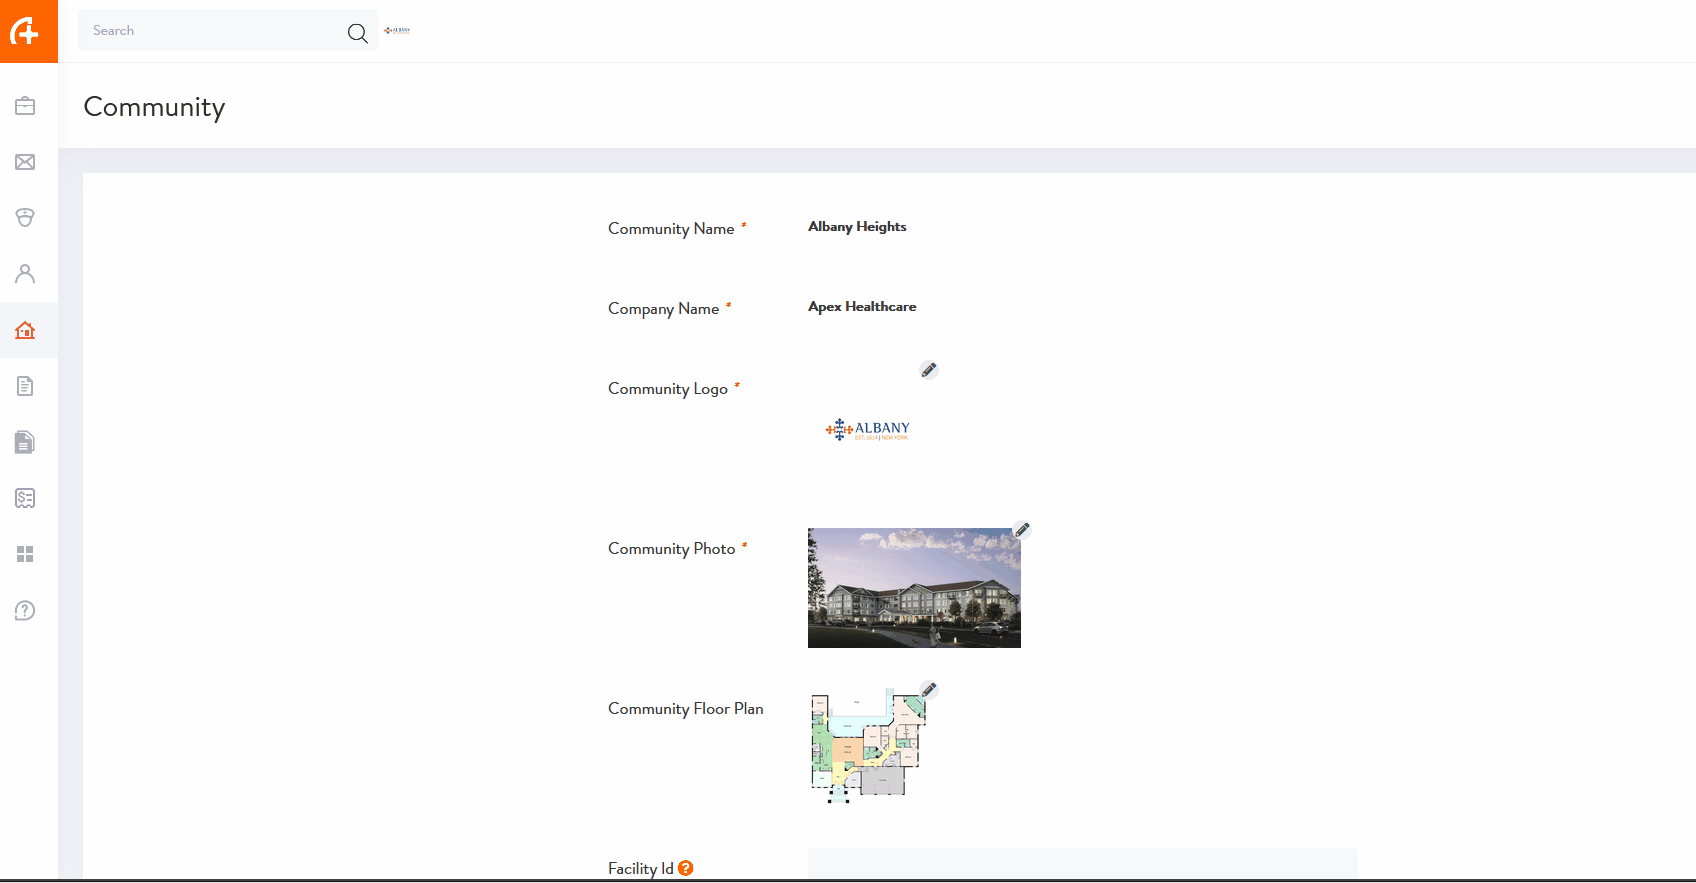
2. Toggle ON the option Enable Trusted HERO Auto-Approval.
You must also set a maximum number of hours per week a HERO can be auto-approved to work.
Example:
If the maximum is set to 30 hours per week, the Auto-Approve function will not work if the HERO has already worked or is expected to work more than 30 hours that week.

3. Click the Update button to save your changes
For Enterprise Users
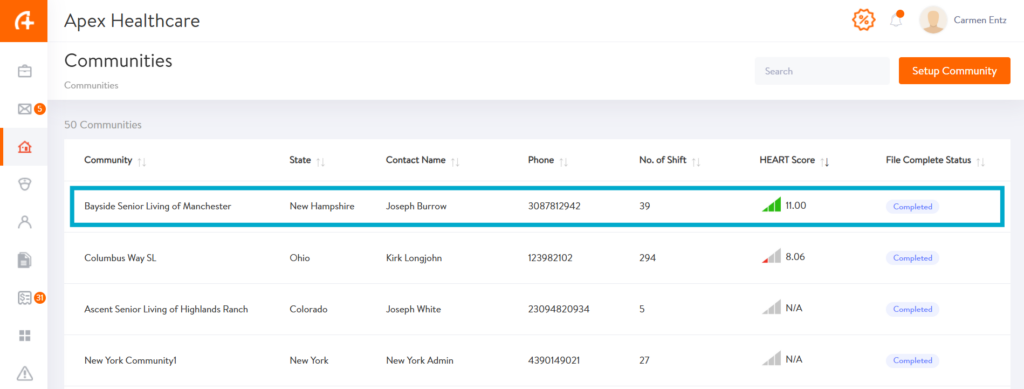
1. Go to the Communities section and open your list of Communities:
2. Select the Community where you want to enable Auto Approve.
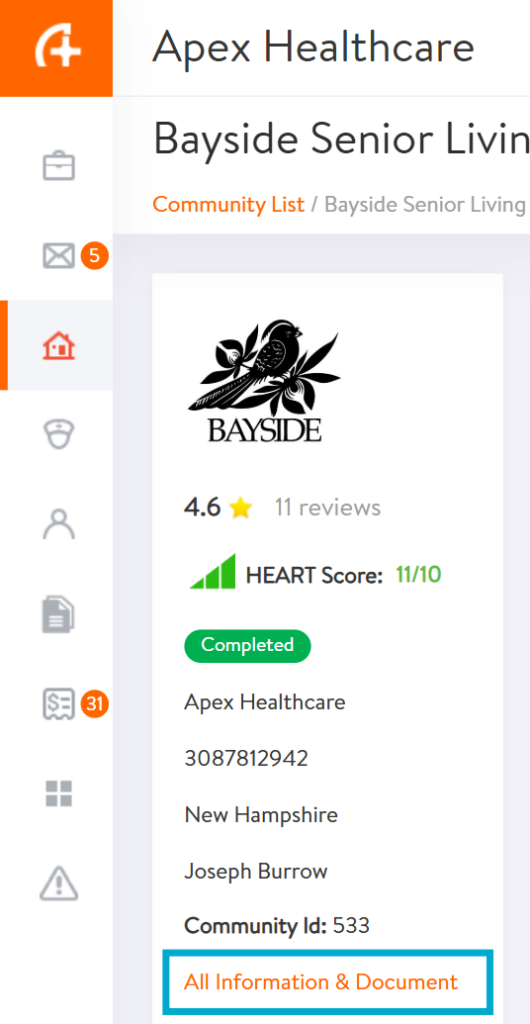
3. Under the Community profile, select All Information & Document
4. Click the Roles & Pay Rates tab.
5. In the Auto-Approve Settings section:
-
Turn ON the option Enable Trusted HERO Auto-Approval
-
Set the maximum number of hours a HERO can work each week
Example:
If the limit is 32 hours, the system will NOT Auto-Approve any HERO who is expected to go over that limit.
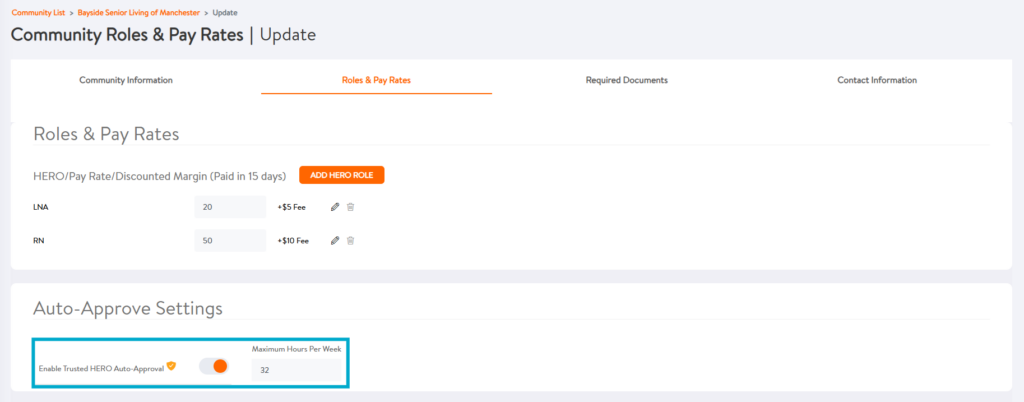
6. Click the Update button to save your changes.
Auto Approving a HERO
Option 1
To use Auto-Approval, you need to enable it on each HERO’s profile. This option is available only for Heroes who have worked at least one shift in your Community.
Steps:
- Open the HERO’s profile.
- Find the setting called Trusted HERO Auto-Approval and switch it to ON.
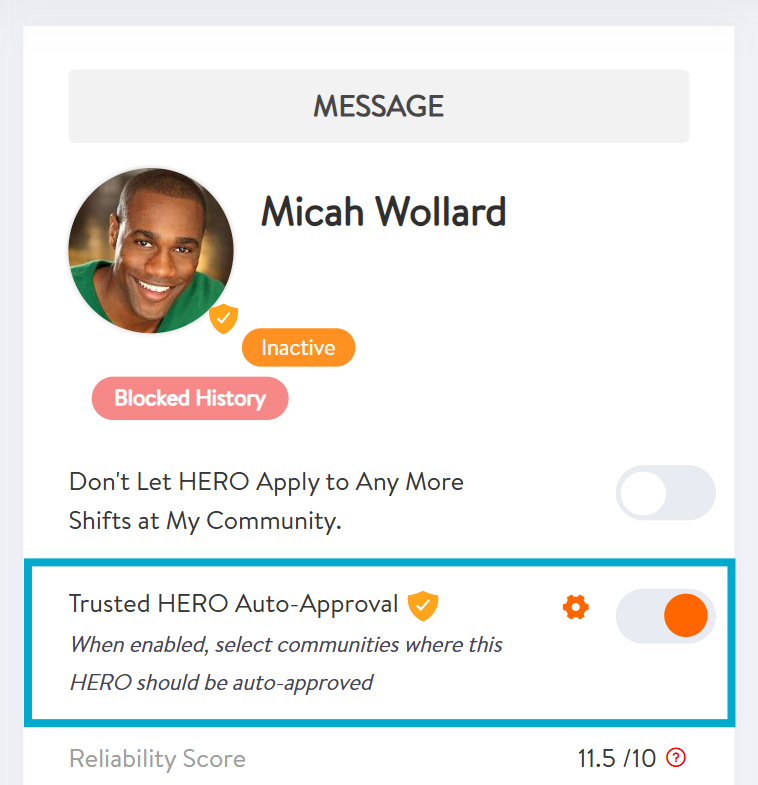
3. If you are an Enterprise user, you may be asked to select the Communities where the HERO will be Auto-Approved.
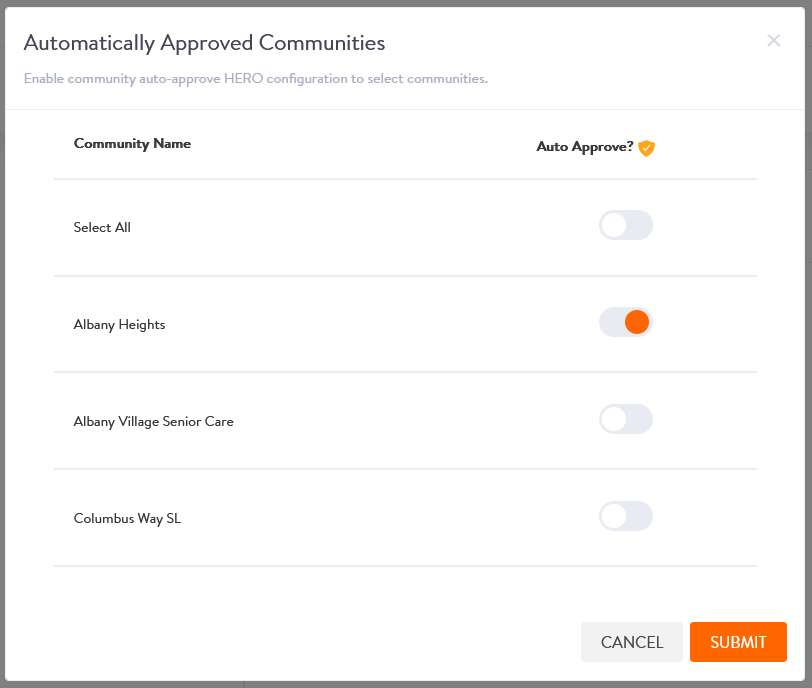
4. Enterprise users can manage the list of communities at any time by clicking on the gear icon that appears next to the Auto-Approve setting.

5. To turn OFF auto-approval for a HERO, just go to their profile and switch the Trusted HERO Auto-Approval setting to OFF.
Option 2
Add a HERO to Auto-Approval from a Shift Approval Popup.
When you approve a HERO for three consecutive shifts, a popup will appear asking if you would like to add them to your Trusted HERO Auto-Approval list.
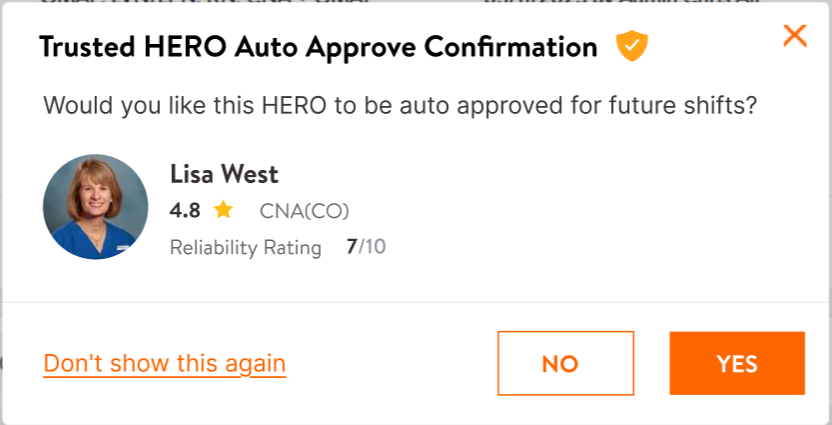
You will see three options:
- Tap “Yes” to add the HERO to your auto-approved list.
- Tap “No” to close the popup and keep the HERO off the list.
- Tap “Do Not Show This Again” to prevent the popup from showing again for this HERO.
View the Auto-Approved List
Enterprise users can view how many child Communities have auto-approved a specific HERO:
- Open the HERO’s profile.
- Hover over the row titled Auto-Approved Communities to see the number of Communities where the HERO is trusted.

Here, you can also view the history and see how many communities have Auto-Approved this HERO.
Need Help?
Our KARE Support Team is here for you:
- General Support: (832) 380-8740
- In-App Messaging: Available daily in the KARE app.
- Email: herosupport@doyoukare.com
We will get back to you as quickly as possible.